ReTutPro – Instagramer 1
Instagramer 1
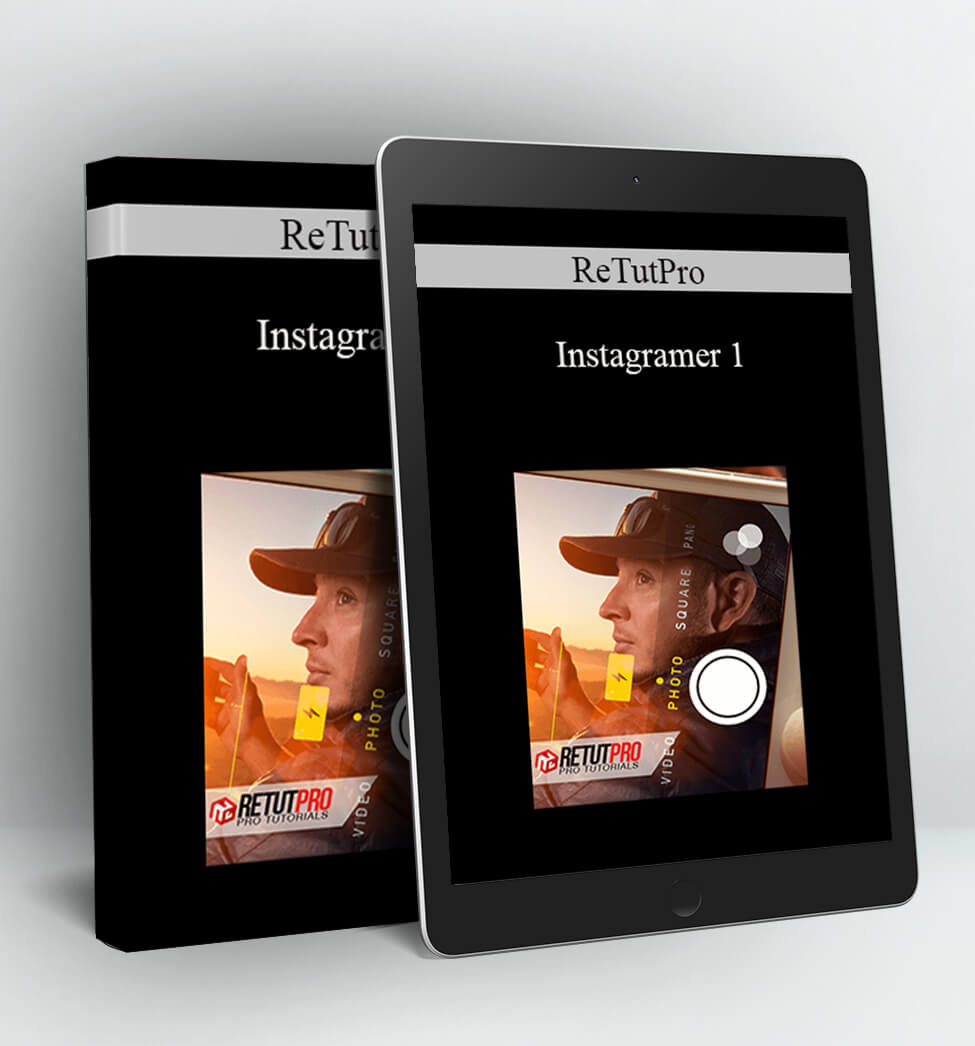
Our latest Pro Tutorial is an entirely new undertaking, one which is quite rewarding. By merging two separate images, the end product leaves you with the impression that you’re looking at advertising photography.
Not only does the tutorial provide a free lesson on photography and light setup, the lessons that follow provide a wide focus on retouching techniques. Techniques such as Plug-In Sharpening, Compositing & Merging, Dodge & Burn, Raw Conversions, as well as creating a realistic feel & light look.
This Pro Tutorial provides the user with the understanding of how to work in light and how to restore the sense of realism to composites. At +/-120 minutes, the Instagramer I Pro Tutorial focuses on retouching & compositing an image, to give it the quality definition we so often see in advertising photography.
The idea behind the tutorial is not only to familiarize people with the techniques, but also to help them understand the reason for using certain methods and not using others.
Included in your Pro Tutorial – 2 Hours Step by Step guide
- Lesson 1 – Behind The Scene – Photography & Light Setup “Free”
- Lesson 2 – Preparations & Raw Conversions & Help Layers
- Lesson 3 – Plug-In Sharpening
- Lesson 4 – Image Clean – Up & Retouch
- Lesson 5 – Dodge & Burn
- Lesson 6 – First Color Grading
- Lesson 7 – Iphone Raw Conversion
- Lesson 8 – Merging in Iphone
- Lesson 9 – Color & Light Control
- Lesson 10 – Building Iphone Screen
- Lesson 11 – Adding Iphone Graphics
- Lesson 12 – Final Color & 20% Adjustments
Included working files
- Raw File
- PSD File
DESCRIPTION:
Behind The Scene – Photography & Light Setup “Free”
In our first lesson, (Which is also for free – Watch here) we’re going to discuss the complete light setup and all thoughts behind this project. We will also go through a complete before and after series, presenting both the original and updated image, and how we adjust the exposure.
Raw Conversions & Help Layers
In our first retouching lesson, we will concentrate on our basic adjustments in camera raw and import our raw image into Photoshop. We will then put the techniques on hold and create a new help layer in order to point out all the retouching steps. This helps us to stay focused during the retouching process.
Plug-in Sharpening
In this lesson we will be applying some selective sharpness throughout the image. For this process we will also be using an external plug-in called Topaz Labs. This process can also be done with the normal Photoshop sharpening filter, but you’ll achieve a better end result by using the plug-in.
Image Clean-up & Retouch
Now that we have applied some basic sharpness, we will concentrate on cleaning / retouching the skin and image. We will start with skin corrections, dust particles and other distracting details in the image.
Dodge & Burn
In this section, we will be working with our famous Dodge & Burn technique (We have an excellent Free Tutorial on this technique – Find it here). This means creating two new unique layers, one for dodging the highlights and one for burning the shadows. This would effectively emphasise the light in the image.
First Color Grading
Now that we have slightly shaped the light, we will concentrate on our fist color adjustments. This is a small part in the complete color process. This will give us an idea of the direction we want to take with the complete color grade and the general appearance of the image!
iPhone Raw Conversion
Now it’s time to advance to the next level. We will take our second image (Raw Image iPhone) into camera raw and start off by creating the same color sense and balance via the temperature sliders. We will also do several pre-adjustments to the overall exposure!
Merge in iPhone
Once we have imported our second exposure into Photoshop, it is time to cut out the entire phone and merge it into the correct position. This process involves a small amount of different techniques and a little patience.
Color & Light Control
Great, now that we have merged the two exposures, it is time to bring a sense of realism to the image by adding some more light and color. We will once again be using a number of light effects and some Selective Color Adjustment layers.
iPhone Screen
The following lesson shouldn’t be too complex. We will concentrate on placing the first retouched image into the iPhone screen. This process will involve working with Guidelines, the Pen Tool, Selections and Transform Mode.
iPhone Graphics
In our second last lesson we will bring a sense of authenticity to the image by building and replicating the actual iPhone screen graphics. This process involves a simple trick as well as using Photoshop’s awesome Melding Mode options.
Final Color & Last 20% Adjustment
We will be concentrating on the remaining 20% of our image in our final lesson – color grading, sharpness, fixes, size, as well as the overall look and feel of the image. Once we have finished with this process we are ready to save and finish up.
Access Download ReTutPro – Instagramer 1 right now!
Delivery Method:
After your purchase, you’ll get access to the downloads page. Here, you can download all the files associated with your order.
Downloads are available once your payment is confirmed, we’ll also send you a download notification email separate from any transaction notification emails you receive from Vinlearn.


