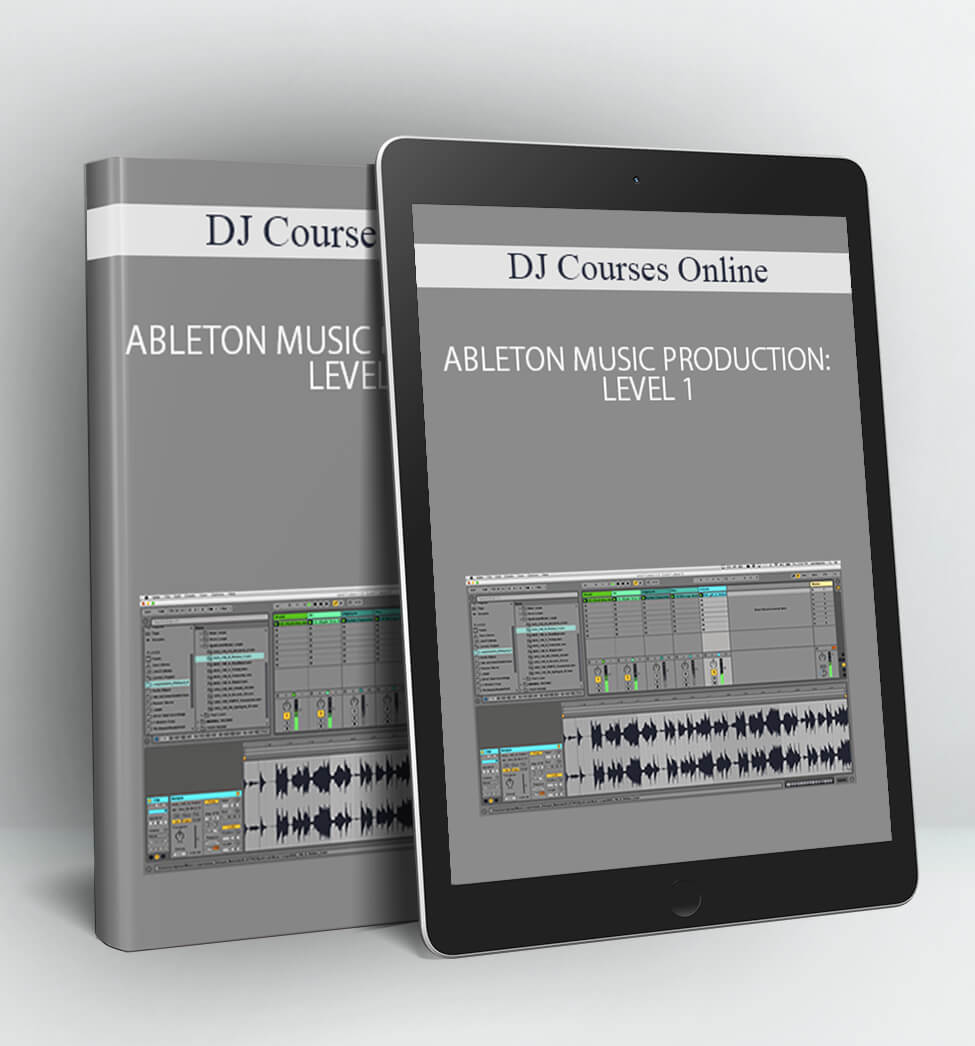
ABLETON MUSIC PRODUCTION: LEVEL 1 – DJ Courses Online
In this course, you’ll learn about the capabilities of Ableton Live music production and live performance software from Ableton Live certified instructor, Thavius Beck. Ableton Live is a very unique software application that has steadily risen in popularity amongst producers, DJs, electronic musicians, and instrumentalists alike, thanks to its unique approach to music recording.
In Ableton Live, you can record using the standard DAW (digital audio workstation) approach of recording tracks into an arrangement window and mix using faders, but with the built-in Session view, the possibilities become endless. Session view allows you to view your music as “clips”, which are audio/MIDI recordings (small or large) that you can stack together in various ways and combinations to unlock your creative potential and find sounds and musical phrases.
We couldn’t think of anyone better than Thavius Beck to take you through the software, guiding you through all of the key features and preferences so that you start making music like you’ve never made before. The skills you’ll learn from this Ableton Live master will enable you to reach deep into the application and produce music like a professional. There’s a reason why Daft Punk, Deadmau5, Skrillex, Kaskade, Armin Van Buuren, Diplo, Hot Chip, M83, and countless others have been producing with Ableton and Thavius will show you why!
COURSE CURRICULUM
Section 1: Introduction and Understanding the Interface
StartProject Files
StartWhat is a DAW?
Ableton Live is one of the most unique DAWs available today, and has become more and more popular as people realize how much it can do compared to other DAWs. But before we can fully appreciate what makes Live unique, we should first clearly define what a DAW is and how one typically functions.
(3:24)
PreviewWhat Makes Ableton Live Unique?
Now that we understand what a typical DAW should do, lets find out what separates Ableton Live from the rest of the pack. It can do a lot more than just record and playback audio, as we will soon see…
(5:37)
StartArrangement View and Session View
One of the many unique features of Ableton Live is its use of two distinct views. The Arrangement View uses a linear timeline and will be most familiar to those of you who have used other DAWs before. However, the true power of the software begins to reveal itself when we understand how to use the Session View.
(10:55)
StartUsing Live’s Browser
When inspiration strikes you, it is nice to be able to start grabbing or creating sounds right away. But searching through and endless sea of folders on your computers file explorer might not be the most inspiring way to go about that. Thankfully, Live’s built-in browser can simplify this process for us, and even allow us to search folders on our computer without leaving Live’s interface.
(12:48)
StartAbleton Live’s Preferences
Before we dive into creating and composing with Live, let’s explore the Preferences. There are a lot of settings that we can adjust, such as the audio interface we use, which MIDI controllers are enabled, and even change the entire color scheme or zoom level of the interface.
(12:48)
Section 2: Clips, the building blocks of Live
PreviewWhat are Clips?
All musical elements in Live are contained in either Audio or MIDI clips, so it is very important for us to understand what clips are, how they function, and how they can be used to create full compositions. Clips are essentially the building blocks of Ableton Live, and the key to us creating and capturing our ideas.
(17:11)
StartWhat is MIDI?/Computer Keyboard as MIDI Keyboard
We can use Ableton Live like a full fledged studio, but the one thing we don’t have are actual instruments. Thankfully, we have MIDI instruments that can be played with a MIDI controller or our computer keyboard. But first, we should find out what MIDI is and how Live uses the MIDI messages it receives.
(7:23)
StartMIDI clips
Now that we know what clips are, and we know what MIDI is, lets take a look at a MIDI clip and some of the MIDI clips properties. Doing this will gives us a foundation to start playing and recording ideas with our MIDI instruments.
(11:09)
StartDifference between Audio and MIDI clips
Since MIDI clips and Audio clips serve slightly different purposes (MIDI clips contain notes and velocity, while audio clips contain audio samples), lets quickly compare and contrast the two clips types so we’re familiar with the unique properties of each.
(3:40)
StartWhat is “Warping?”
Ableton Live has many tricks up its figurative sleeves, and one of the most fundamental aspects of how it functions is the Warp feature. When audio clips are properly warped, they will adhere to our projects master tempo, regardless of the original tempo of the audio material. This allows us to combine clips of completely different tempos and have them play in sync, but that is just scratching the surface…
(12:30)
Section 3: Working with Audio Clips
StartImporting Audio Loops
If our Preferences are properly set, we can start to import various audio samples and have them automatically warped and looped. This allows us to quickly get several musical elements playing in sync with the project tempo. We just have to make sure that if we want to play multiple clips at a time, they are placed on different audio tracks.
(14:13)
PreviewClip Launch Quantization
You might have noticed by now that when you launch a clip while the transport is running, it doesn’t immediately start playing. Instead, it waits until the beginning of the next bar. Why is that? It’s because Ableton Live automatically quantizes the launching of clips to 1 bar by default. Let’s explore how this works
(8:52)
StartBasic Clip Launch Properties
In addition to our audio and MIDI clip properties, we also have Clip Launch properties, which will affect how the clips behaves when launched. This gives us a lot of flexibility when it comes to how we play and combine the clips in our project.
(7:29)
StartBasic Clip Envelopes
Each clip in Ableton Live has its own individual Clip Envelopes. These clip envelopes allow us to modulate (change) a parameter over time. By utilizing these clip envelopes we can automate anything from a simple volume fade to a stuttering volume gate, or nearly anything else you can imagine. Let’s take a look at how they work.
(13:25)
StartFollow Action with Clip Envelopes
Typically, when you launch a clip, it will play until it reaches the end of the clip, and if Loop is enable it will just keep looping the same clip indefinitely. However, we can also tell each clip to play for a specific amount of time and then launch another clip on that same track. This is done by using Follow Action.
(7:35)
Section 4: Working with MIDI Clips/Instruments
StartIntroducing the Drum Rack
If you plan on making any music that uses drums, you’ll probably end up using the Drum Rack sooner or later. The Drum Rack is actually a container device for other devices (instruments and effects), but it is primarily used as an instrument for creating and playing drum kits. Let’s get familiar with Drum Rack instrument.
(9:36)
StartUsing the Computer Keyboard as a MIDI Controller
If you want to play your MIDI instruments in realtime but don’t have a MIDI controller, don’t fret. The computer keyboard you use to type on everyday can easily be used as a MIDI keyboard. There are a few limitations, but the convenience of essentially having a MIDI keyboard built into your laptop more than makes up for them.
(9:00)
StartUsing Draw Mode to place notes in MIDI clips
Sometimes it is preferable to draw notes inside of a MIDI clip instead of playing them in realtime. Thankfully this is easily accomplished using the Draw Mode. By using the draw mode we can place notes inside of a clip that snap the our beat grids current resolution.
(9:00)
StartBasic MIDI clip editing (Note Placement, Velocity, and Quantization)
Once we have some notes in our MIDI clips, it is very easy to move them around, adjust the velocity of individual notes, and quantize them (or slightly unquantize them by nudging them ahead or behind the beat). The beauty of MIDI is how malleable the MIDI information is once it is captured.
(13:27)
PreviewRecording Automation in Realtime
Earlier we learned about clip envelopes and how we can use them to change parameters over time. But there will often be times where you would rather record the movement of a knob, fader, or other parameter in realtime. Let’s look at how we can record automation into our Session View clips.
(6:52)
Section 5: MIDI and Audio Clips Together
StartUsing MIDI Clips to Complement Audio Clips
MIDI clips and Audio clips can be used together in numerous ways. Often times a Drum Rack will be used to complement an audio clip with a drum loop, or a sub bass synth can add a layer of deep bass to a song made with recordings of live instruments, etc. Let’s look at an example of how audio clips and MIDI clips can be used together.
(6:57)
StartWhat Are Scenes?
In the Session View, we have tracks that are laid out vertically, but we know that each track can only play one clip at a time. So if we want to play multiple clips at once, they each need their own track. But what if we place them on the same horizontal row? That would mean all of the clips are in the same Scene, and using scenes can be a powerful way to begin sculpting an arrangement without using the Arrangement View.
(8:14)
StartNaming Scenes and Edit Launch Tempo
When clips are organized in Scenes, not only can we launch of clips at the same time, but we can also assign a specific tempo to each scene. This is especially useful if you want a tempo change in your song, or if you are making a live show set using stems (each scene could have stems from a different song and a different launch tempo).
(8:16)
StartEditing Scenes
If we duplicate our clips into different scenes, we can edit the individual clips in different ways so each scene feels like a different part of an arrangement. Here we will look at a few different ways we can approach editing the content of our scenes.
(11:21)
StartRecord to Arrange, Export, Saving and Collect All and Save
With all of our clips organized in scenes, it would be nice to record all of the scenes in a specific order so we have a solid arrangement that will play from beginning to end. At this point, it is time for us to record the content from the Session View to the Arrangement View. Then, we can export the audio and share it with the world! But before you leave Ableton Live, don’t forget to save your project…
(15:19)
PLEASE CHECK ALL CONTENTS:
Delivery Method:
After your purchase, you’ll get access to the downloads page. Here, you can download all the files associated with your order.
Downloads are available once your payment is confirmed, we’ll also send you a download notification email separate from any transaction notification emails you receive from Vinlearn.

